Working with Graphics: Adobe Photoshop

The fourth module challenged me to first create a photo collage and then apply core concepts to create a second image with Adobe Photoshop. Please click on the hyperlinks below to view project-specific elements.

Part 1: Use the images you gathered in Activity 5 to create a photo collage that describes yourself. Your image should be 1024×768 pixels in dimension and optimized to reduce file size in Photoshop as a jpeg or gif. Incorporate pixel selection, layer creation, merging layers, and cropping.

Part 2: Create a second image of your choosing that incorporates several of the techniques that we’ve covered, or new techniques that you’ve discovered on your own.

Photoshop Collage

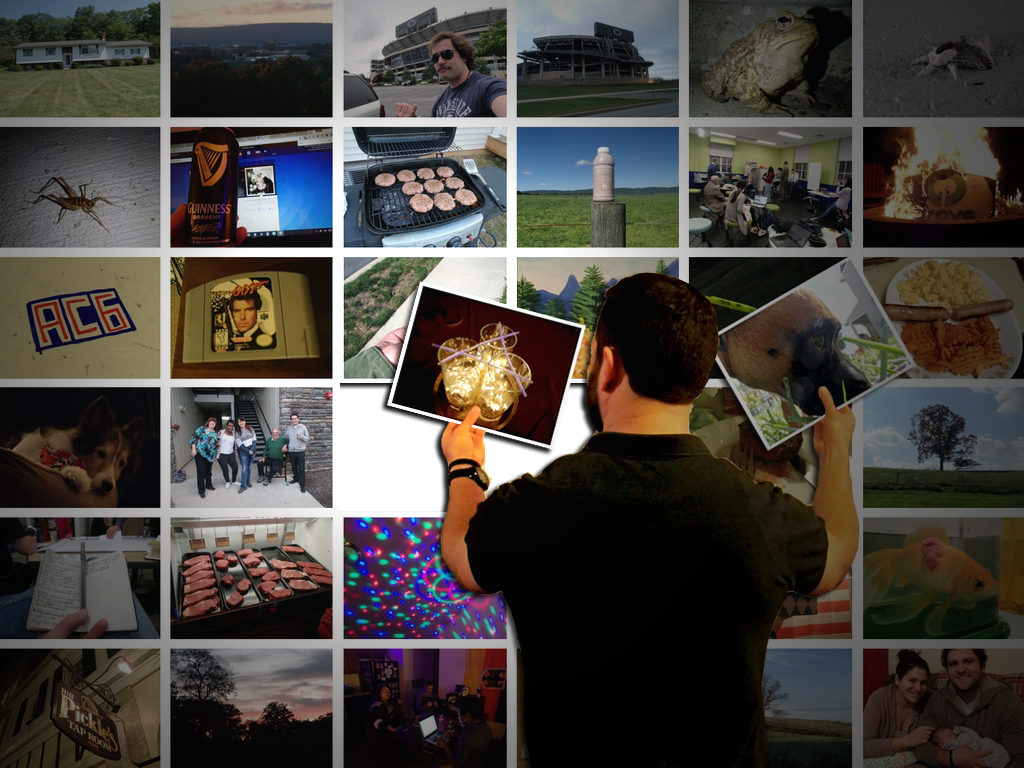
The first portion of the Photoshop module was to create a photo collage that describes myself. Adding several images from my time at Penn State, I was able to put together a fairly comprehensive mosaic of 36 memories.

My first attempt was admittedly bland. While guides helped to create a very clean image, it lacked a certain personality, and did not incorporate several of the skills covered over the course of the training.

ldt550-collage

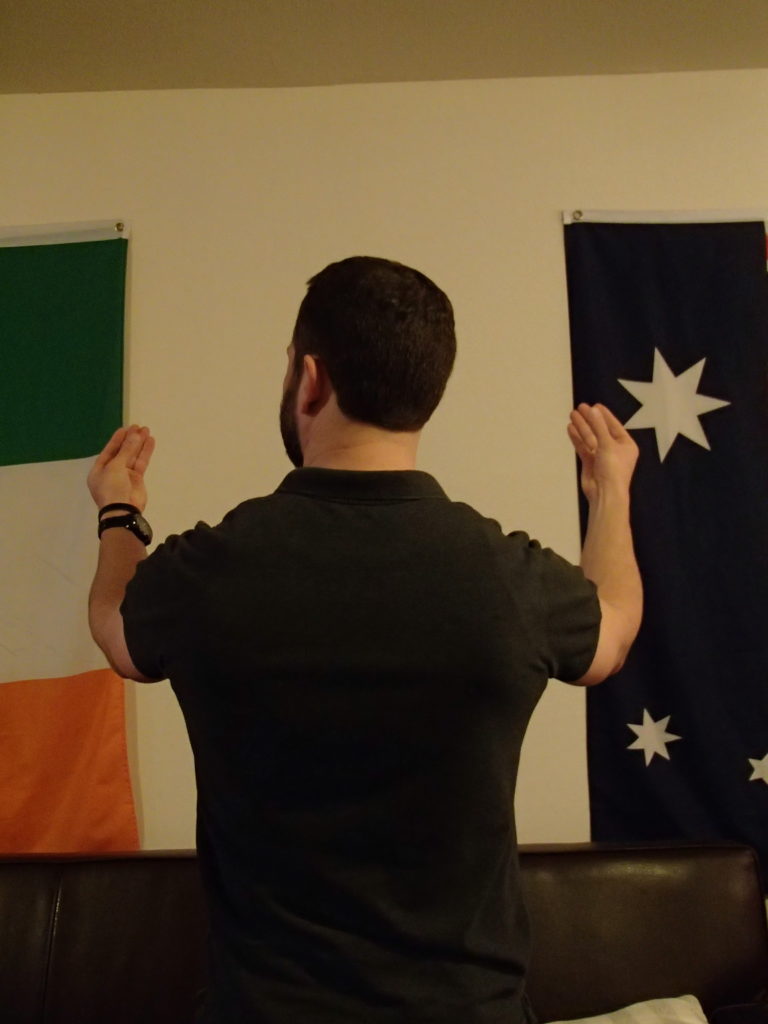
Thinking of ways to take my collage to the next level, I decided to break the fourth wall, and insert myself into the act of creating the collage. Photographing myself from the back with my hands outstretched, I wanted to replicate the process of curation that went into choosing and ordering my photos.

By removing myself from the above photo, I combined this shot with two tiles from the collage in order to create the finished product below.

ldt550a-collage

Though combining and blending the separate layers, I still feel that my image stands out slightly – which may be able to be remedied with some better lighting. Despite this fact, I was especially pleased with the feel of this, considering that there was nothing in my hands when I photographed myself.