The second portion of the Photoshop module was a free-for-all, and I must admit, I am quite proud of the finished product. Building off of concepts from the photo collage, I decide to insert myself into the magical world of Harry Potter!
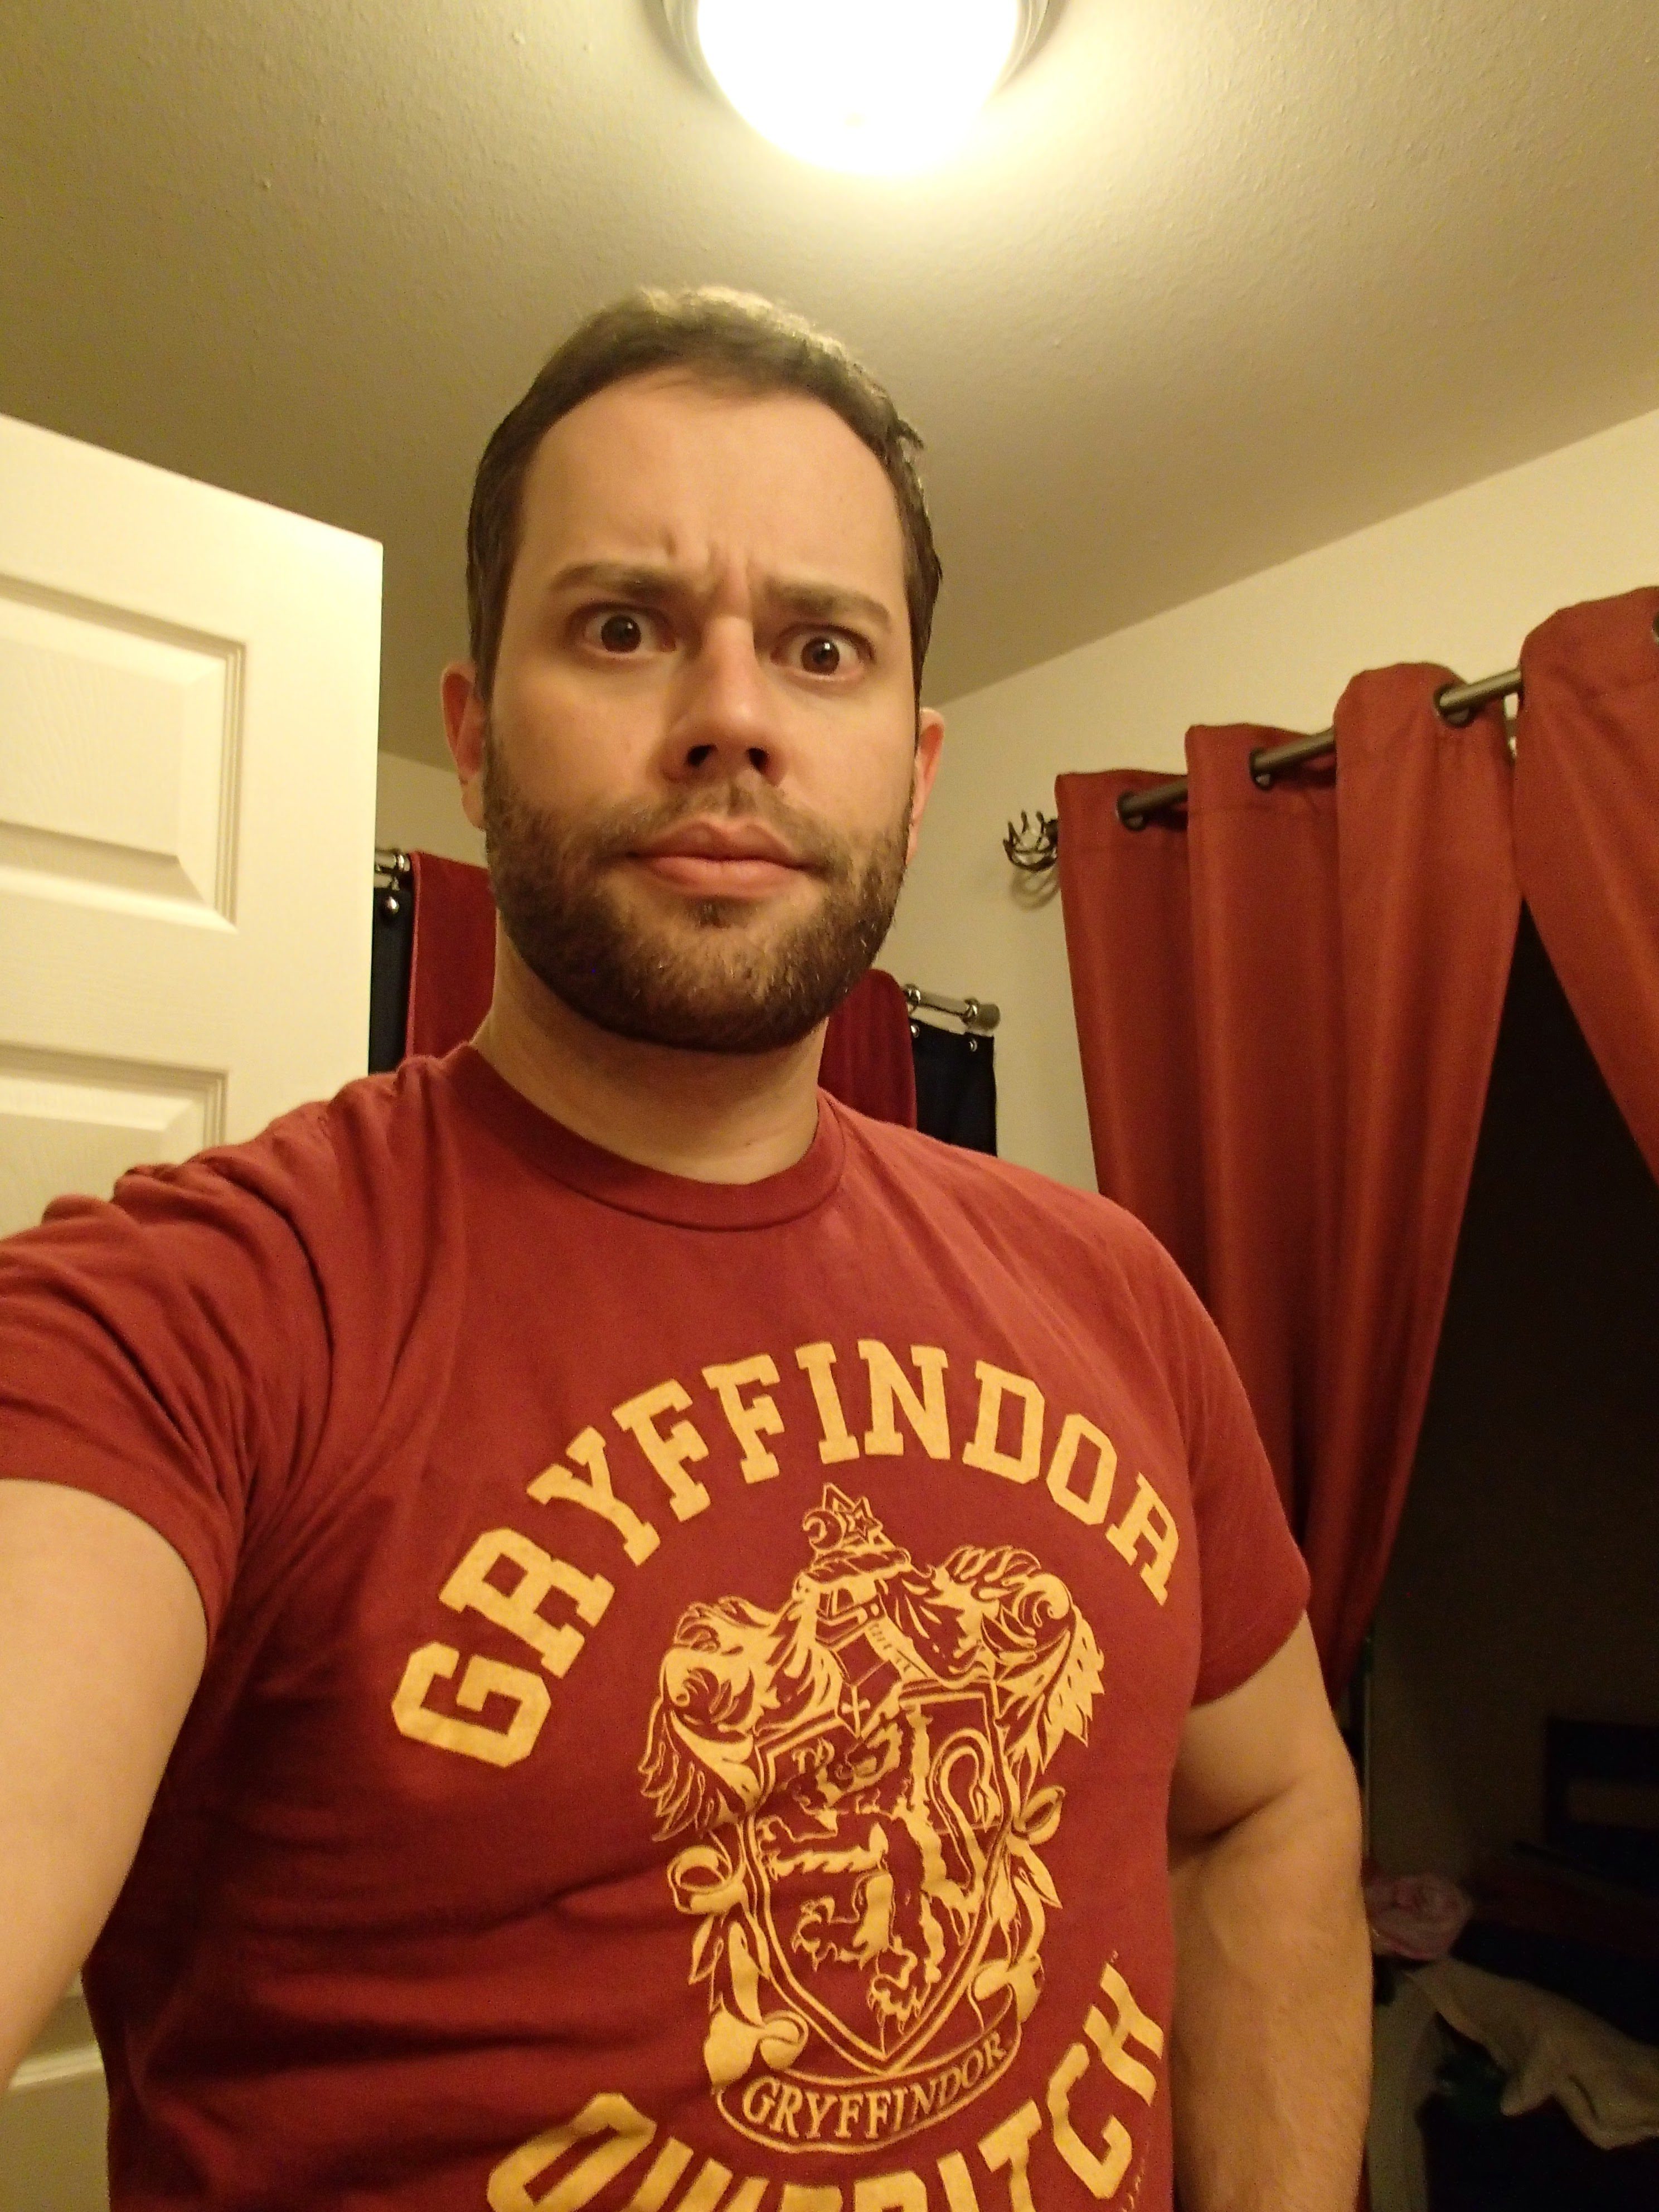
Similar to the previous project, I took a picture of myself – this time, wearing my Gryffindor Quidditch t-shirt. Eliminating the background once again proved challenging. In hindsight, this would have been a lot easier if I used more consistent lighting, or employed a chroma key.
While prep for the above photo took some time, the real challenge was making it blend into the 100% digital landscape of Hogwarts attached below. Lacking natural light in the selfie, I found it easier to darken the landscape for a more fluid feel.
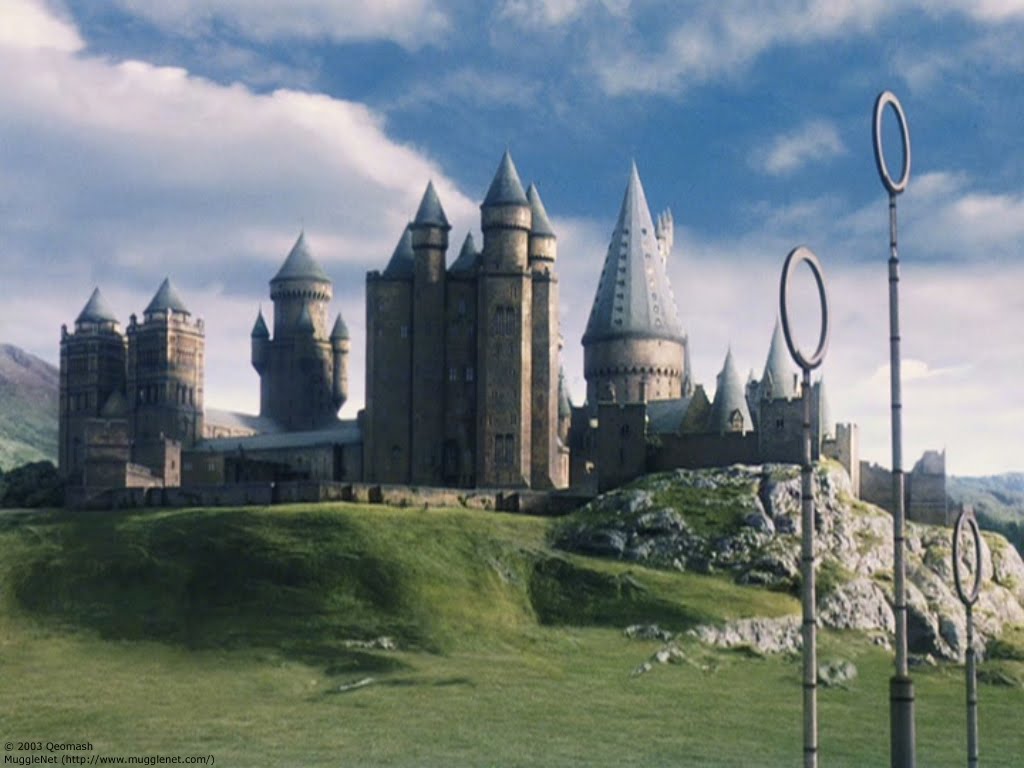
Merging both layers, I was able to adjust the lighting and add a lens flare effect off in the horizon. Simulating a setting sun to the right of the canvas, I was able to work within a darker region to the left – avoiding the need to apply additional effects to the selfie. Applying drop shadows to both layers, helped to increase the detail of the backdrop, and provide a more dramatic feel to overly saturated selfie.

Finally, I went to DaFont.com and found a Harry P font. Matching the text with the logo color of the shirt helped not only bring these elements into the top of the canvas, but also further solidified the Hogwarts theme for those who may not be immediately familiar with the house of Gryffindor.