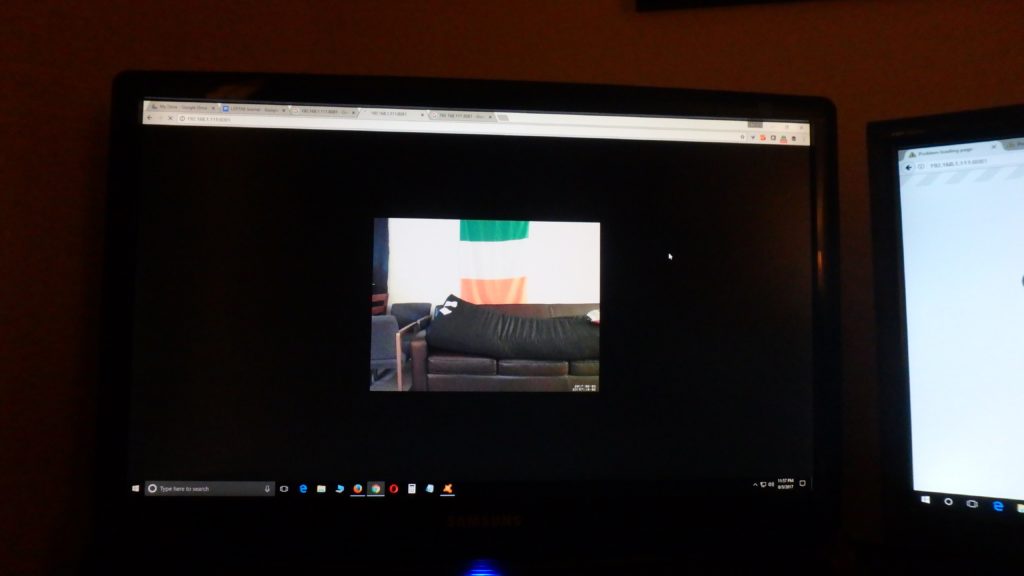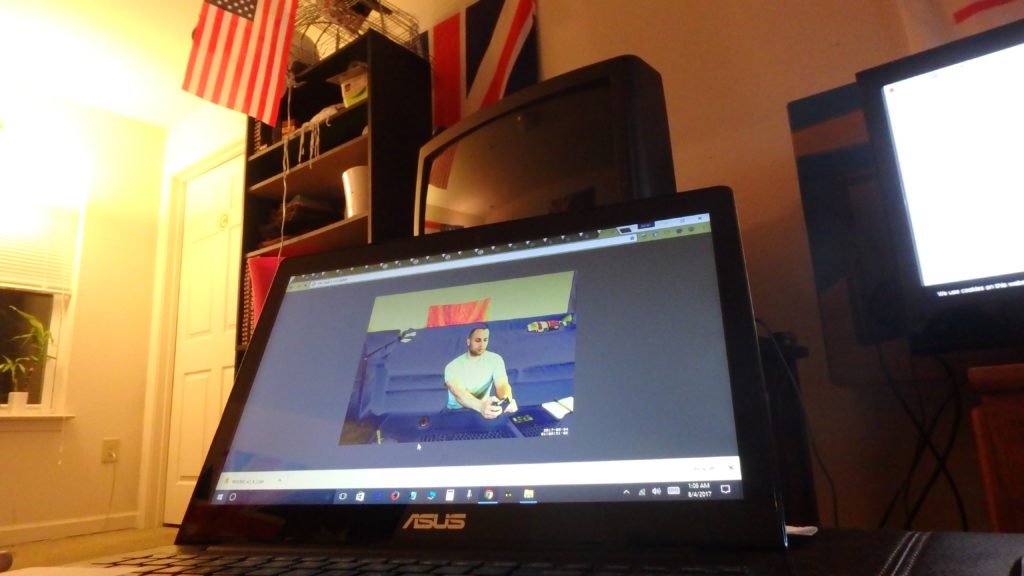
Motion Activated Camera: This is something I have wanted to do for some time. Paranoia aside, I always thought it would be cool to have a video doorbell or be able to view my room remotely via the internet. So, instead of simply buying a home security system or the dedicated RP3 camera, I decided to upcycle an old webcam and tweak it myself using the Raspian OS.

This tutorial was great at getting things up and running, however, the camera failed to activate by detecting motion. Additionally, I discovered that the default settings would require manual restarts of the application and record for only a short period of time before turning off. While I believe this default setting was put in place to prevent the memory card from being overloaded, it would have been nice to know this before going through every single line of code and experimenting with the settings manually by rebooting the RP3 each time something was changed.

By modifying the number of pixels that would need to change before the camera started to stream, I was able to adjust the sensitivity of the motion activated feature. Also, the default resolution did not work on my Microsoft Lifecam Studio, so the dimensions had to be reduced in order to for all of the functions to operate as intended.

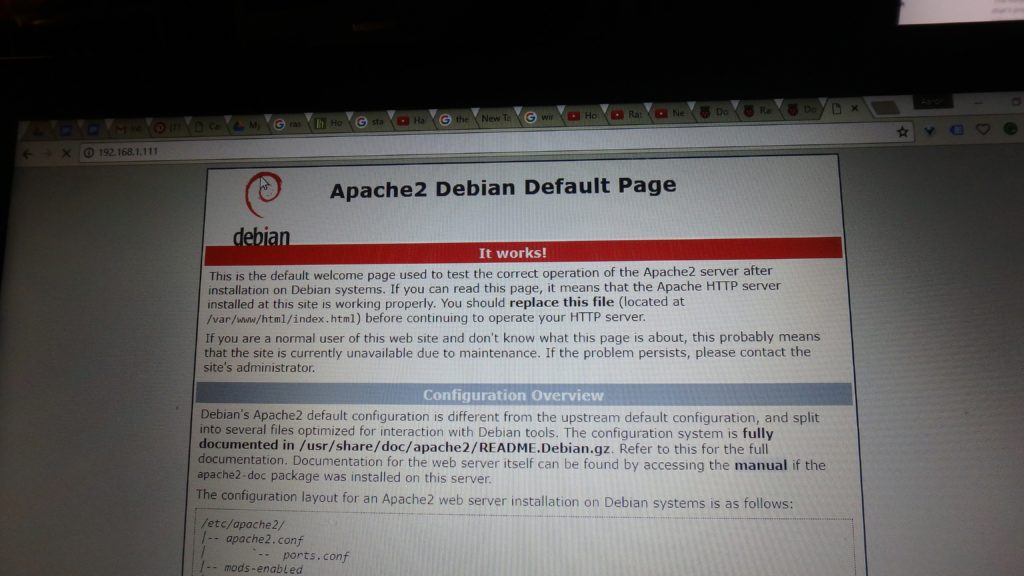
Interestingly, this was my first time working with Apache, and the tutorial did a fine job at outlining this process so I could view the stream on a networked device. This default setting prevents anybody outside the network from viewing the feed, which is perfect for the video doorbell application, however, would not be ideal for checking in on things from the office or on the go.

